Adding Interactivity
Some things on the screen update in response to user input. For example, clicking an image gallery switches the active image. In React, data that changes over time is called state. You can add state to any component, and update it as needed. In this chapter, you’ll learn how to write components that handle interactions, update their state, and display different output over time.
In this chapter
Responding to events
React lets you add event handlers to your JSX. Event handlers are your own functions that will be triggered in response to user interactions like clicking, hovering, focusing on form inputs, and so on.
Built-in components like <button> only support built-in browser events like onClick. However, you can also create your own components, and give their event handler props any application-specific names that you like.
export default function App() {
  return (
    <Toolbar
      onPlayMovie={() => alert('Playing!')}
      onUploadImage={() => alert('Uploading!')}
    />
  );
}

function Toolbar({ onPlayMovie, onUploadImage }) {
  return (
    <div>
      <Button onClick={onPlayMovie}>
        Play Movie
      </Button>
      <Button onClick={onUploadImage}>
        Upload Image
      </Button>
    </div>
  );
}

function Button({ onClick, children }) {
  return (
    <button onClick={onClick}>
      {children}
    </button>
  );
}
State: a component’s memory
Components often need to change what’s on the screen as a result of an interaction. Typing into the form should update the input field, clicking “next” on an image carousel should change which image is displayed, clicking “buy” puts a product in the shopping cart. Components need to “remember” things: the current input value, the current image, the shopping cart. In React, this kind of component-specific memory is called state.
You can add state to a component with a useState Hook. Hooks are special functions that let your components use React features (state is one of those features). The useState Hook lets you declare a state variable. It takes the initial state and returns a pair of values: the current state, and a state setter function that lets you update it.
const [index, setIndex] = useState(0);
const [showMore, setShowMore] = useState(false);
Here is how an image gallery uses and updates state on click:
import { useState } from 'react';
import { sculptureList } from './data.js';

export default function Gallery() {
  const [index, setIndex] = useState(0);
  const [showMore, setShowMore] = useState(false);
  const hasNext = index < sculptureList.length - 1;

  function handleNextClick() {
    if (hasNext) {
      setIndex(index + 1);
    } else {
      setIndex(0);
    }
  }

  function handleMoreClick() {
    setShowMore(!showMore);
  }

  let sculpture = sculptureList[index];
  return (
    <>
      <button onClick={handleNextClick}>
        Next
      </button>
      <h2>
        <i>{sculpture.name} </i>
        by {sculpture.artist}
      </h2>
      <h3>
        ({index + 1} of {sculptureList.length})
      </h3>
      <button onClick={handleMoreClick}>
        {showMore ? 'Hide' : 'Show'} details
      </button>
      {showMore && <p>{sculpture.description}</p>}
      <img
        src={sculpture.url}
        alt={sculpture.alt}
      />
    </>
  );
}
Ready to learn this topic?
Read State: A Component’s Memory to learn how to remember a value and update it on interaction.
Read MoreRender and commit
Before your components are displayed on the screen, they must be rendered by React. Understanding the steps in this process will help you think about how your code executes and explain its behavior.
Imagine that your components are cooks in the kitchen, assembling tasty dishes from ingredients. In this scenario, React is the waiter who puts in requests from customers and brings them their orders. This process of requesting and serving UI has three steps:
- Triggering a render (delivering the diner’s order to the kitchen)
- Rendering the component (preparing the order in the kitchen)
- Committing to the DOM (placing the order on the table)
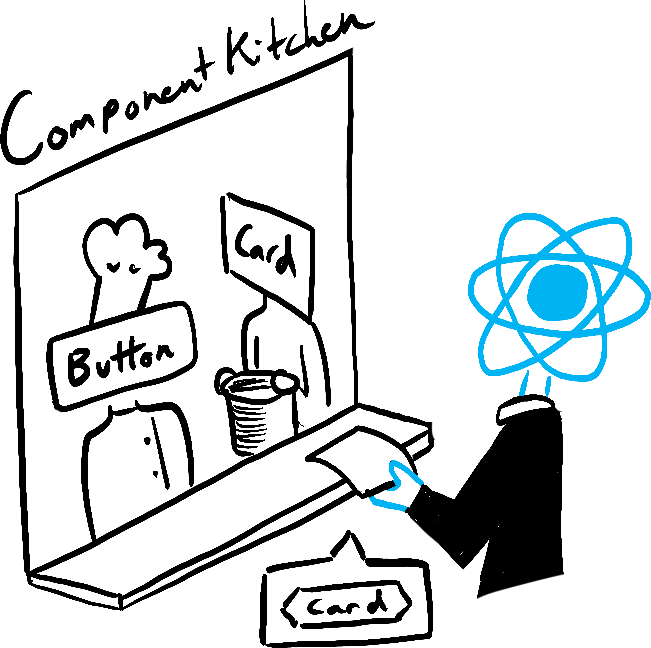
Trigger 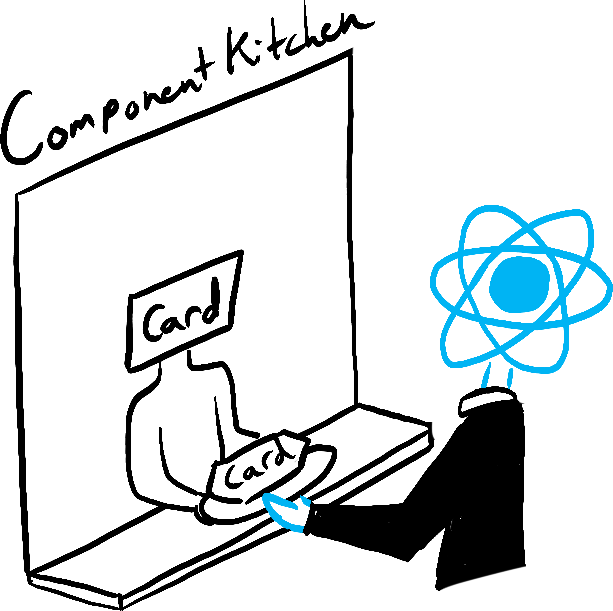
Render 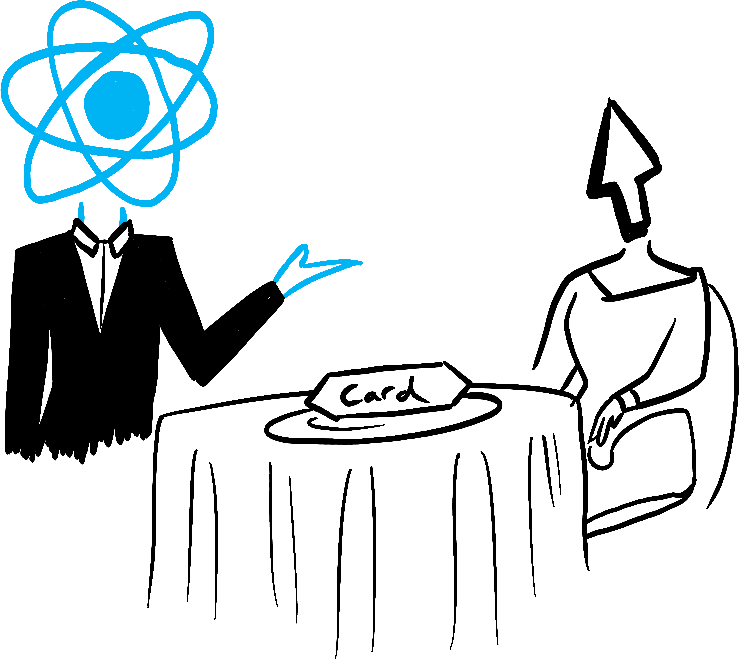
Commit
Illustrated by Rachel Lee Nabors
State as a snapshot
Unlike regular JavaScript variables, React state behaves more like a snapshot. Setting it does not change the state variable you already have, but instead triggers a re-render. This can be surprising at first!
console.log(count);  // 0
setCount(count + 1); // Request a re-render with 1
console.log(count);  // Still 0!
This behavior helps you avoid subtle bugs. Here is a little chat app. Try to guess what happens if you press “Send” first and then change the recipient to Bob. Whose name will appear in the alert five seconds later?
import { useState } from 'react';

export default function Form() {
  const [to, setTo] = useState('Alice');
  const [message, setMessage] = useState('Hello');

  function handleSubmit(e) {
    e.preventDefault();
    setTimeout(() => {
      alert(`You said ${message} to ${to}`);
    }, 5000);
  }

  return (
    <form onSubmit={handleSubmit}>
      <label>
        To:{' '}
        <select
          value={to}
          onChange={e => setTo(e.target.value)}>
          <option value="Alice">Alice</option>
          <option value="Bob">Bob</option>
        </select>
      </label>
      <textarea
        placeholder="Message"
        value={message}
        onChange={e => setMessage(e.target.value)}
      />
      <button type="submit">Send</button>
    </form>
  );
}
Ready to learn this topic?
Read State as a Snapshot to learn why state appears “fixed” and unchanging inside the event handlers.
Read MoreQueueing a series of state updates
This component is buggy: clicking “+3” increments the score only once.
import { useState } from 'react';

export default function Counter() {
  const [score, setScore] = useState(0);

  function increment() {
    setScore(score + 1);
  }

  return (
    <>
      <button onClick={() => increment()}>+1</button>
      <button onClick={() => {
        increment();
        increment();
        increment();
      }}>+3</button>
      <h1>Score: {score}</h1>
    </>
  )
}
State as a Snapshot explains why this is happening. Setting state requests a new re-render, but does not change it in the already running code. So score continues to be 0 right after you call setScore(score + 1).
console.log(score);  // 0
setScore(score + 1); // setScore(0 + 1);
console.log(score);  // 0
setScore(score + 1); // setScore(0 + 1);
console.log(score);  // 0
setScore(score + 1); // setScore(0 + 1);
console.log(score);  // 0
You can fix this by passing an updater function when setting state. Notice how replacing setScore(score + 1) with setScore(s => s + 1) fixes the “+3” button. This lets you queue multiple state updates.
import { useState } from 'react';

export default function Counter() {
  const [score, setScore] = useState(0);

  function increment() {
    setScore(s => s + 1);
  }

  return (
    <>
      <button onClick={() => increment()}>+1</button>
      <button onClick={() => {
        increment();
        increment();
        increment();
      }}>+3</button>
      <h1>Score: {score}</h1>
    </>
  )
}
Ready to learn this topic?
Read Queueing a Series of State Updates to learn how to queue a sequence of state updates.
Read MoreUpdating objects in state
State can hold any kind of JavaScript value, including objects. But you shouldn’t change objects and arrays that you hold in the React state directly. Instead, when you want to update an object and array, you need to create a new one (or make a copy of an existing one), and then update the state to use that copy.
Usually, you will use the ... spread syntax to copy objects and arrays that you want to change. For example, updating a nested object could look like this:
import { useState } from 'react';

export default function Form() {
  const [person, setPerson] = useState({
    name: 'Niki de Saint Phalle',
    artwork: {
      title: 'Blue Nana',
      city: 'Hamburg',
      image: 'https://i.imgur.com/Sd1AgUOm.jpg',
    }
  });

  function handleNameChange(e) {
    setPerson({
      ...person,
      name: e.target.value
    });
  }

  function handleTitleChange(e) {
    setPerson({
      ...person,
      artwork: {
        ...person.artwork,
        title: e.target.value
      }
    });
  }

  function handleCityChange(e) {
    setPerson({
      ...person,
      artwork: {
        ...person.artwork,
        city: e.target.value
      }
    });
  }

  function handleImageChange(e) {
    setPerson({
      ...person,
      artwork: {
        ...person.artwork,
        image: e.target.value
      }
    });
  }

  return (
    <>
      <label>
        Name:
        <input
          value={person.name}
          onChange={handleNameChange}
        />
      </label>
      <label>
        Title:
        <input
          value={person.artwork.title}
          onChange={handleTitleChange}
        />
      </label>
      <label>
        City:
        <input
          value={person.artwork.city}
          onChange={handleCityChange}
        />
      </label>
      <label>
        Image:
        <input
          value={person.artwork.image}
          onChange={handleImageChange}
        />
      </label>
      <p>
        <i>{person.artwork.title}</i>
        {' by '}
        {person.name}
        <br />
        (located in {person.artwork.city})
      </p>
      <img
        src={person.artwork.image}
        alt={person.artwork.title}
      />
    </>
  );
}
If copying objects in code gets tedious, you can use a library like Immer to reduce repetitive code:
{
  "dependencies": {
    "immer": "1.7.3",
    "react": "latest",
    "react-dom": "latest",
    "react-scripts": "latest",
    "use-immer": "0.5.1"
  },
  "scripts": {
    "start": "react-scripts start",
    "build": "react-scripts build",
    "test": "react-scripts test --env=jsdom",
    "eject": "react-scripts eject"
  },
  "devDependencies": {}
}
Ready to learn this topic?
Read Updating Objects in State to learn how to update objects correctly.
Read MoreUpdating arrays in state
Arrays are another type of mutable JavaScript objects you can store in state and should treat as read-only. Just like with objects, when you want to update an array stored in state, you need to create a new one (or make a copy of an existing one), and then set state to use the new array:
import { useState } from 'react';

const initialList = [
  { id: 0, title: 'Big Bellies', seen: false },
  { id: 1, title: 'Lunar Landscape', seen: false },
  { id: 2, title: 'Terracotta Army', seen: true },
];

export default function BucketList() {
  const [list, setList] = useState(
    initialList
  );

  function handleToggle(artworkId, nextSeen) {
    setList(list.map(artwork => {
      if (artwork.id === artworkId) {
        return { ...artwork, seen: nextSeen };
      } else {
        return artwork;
      }
    }));
  }

  return (
    <>
      <h1>Art Bucket List</h1>
      <h2>My list of art to see:</h2>
      <ItemList
        artworks={list}
        onToggle={handleToggle} />
    </>
  );
}

function ItemList({ artworks, onToggle }) {
  return (
    <ul>
      {artworks.map(artwork => (
        <li key={artwork.id}>
          <label>
            <input
              type="checkbox"
              checked={artwork.seen}
              onChange={e => {
                onToggle(
                  artwork.id,
                  e.target.checked
                );
              }}
            />
            {artwork.title}
          </label>
        </li>
      ))}
    </ul>
  );
}
If copying arrays in code gets tedious, you can use a library like Immer to reduce repetitive code:
{
  "dependencies": {
    "immer": "1.7.3",
    "react": "latest",
    "react-dom": "latest",
    "react-scripts": "latest",
    "use-immer": "0.5.1"
  },
  "scripts": {
    "start": "react-scripts start",
    "build": "react-scripts build",
    "test": "react-scripts test --env=jsdom",
    "eject": "react-scripts eject"
  },
  "devDependencies": {}
}
Ready to learn this topic?
Read Updating Arrays in State to learn how to update arrays correctly.
Read MoreWhat’s next?
Head over to Responding to Events to start reading this chapter page by page!
Or, if you’re already familiar with these topics, why not read about Managing State?