Render and Commit
Before your components are displayed on screen, they must be rendered by React. Understanding the steps in this process will help you think about how your code executes and explain its behavior.
You will learn
- What rendering means in React
- When and why React renders a component
- The steps involved in displaying a component on screen
- Why rendering does not always produce a DOM update
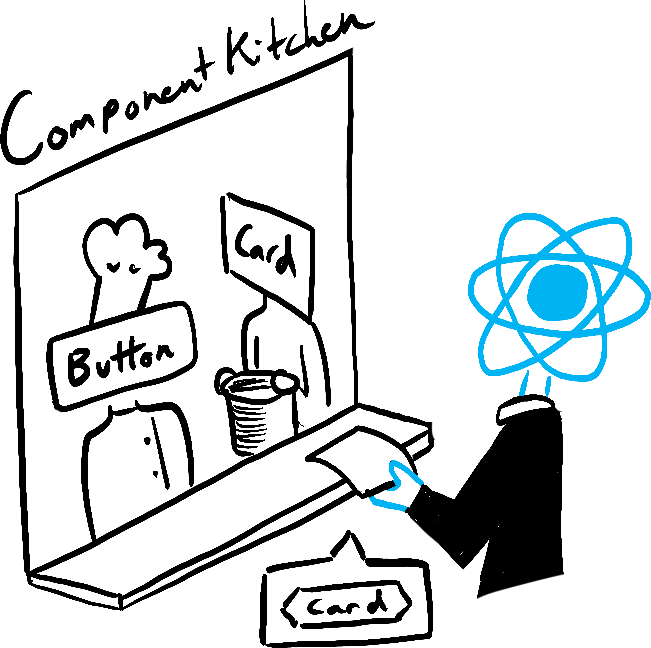
Imagine that your components are cooks in the kitchen, assembling tasty dishes from ingredients. In this scenario, React is the waiter who puts in requests from customers and brings them their orders. This process of requesting and serving UI has three steps:
- Triggering a render (delivering the guest’s order to the kitchen)
- Rendering the component (preparing the order in the kitchen)
- Committing to the DOM (placing the order on the table)
Trigger 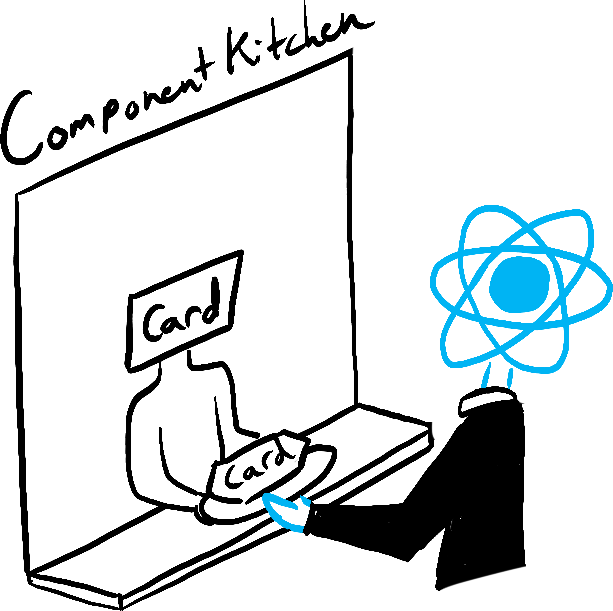
Render 
Commit
Illustrated by Rachel Lee Nabors
Step 1: Trigger a render
There are two reasons for a component to render:
- It’s the component’s initial render.
- The component’s (or one of its ancestors’) state has been updated.
Initial render
When your app starts, you need to trigger the initial render. Frameworks and sandboxes sometimes hide this code, but it’s done by calling createRoot with the target DOM node, and then calling its render method with your component:
import Image from './Image.js';
import { createRoot } from 'react-dom/client';

const root = createRoot(document.getElementById('root'))
root.render(<Image />);
Try commenting out the root.render() call and see the component disappear!
Re-renders when state updates
Once the component has been initially rendered, you can trigger further renders by updating its state with the set function. Updating your component’s state automatically queues a render. (You can imagine these as a restaurant guest ordering tea, dessert, and all sorts of things after putting in their first order, depending on the state of their thirst or hunger.)
State update... 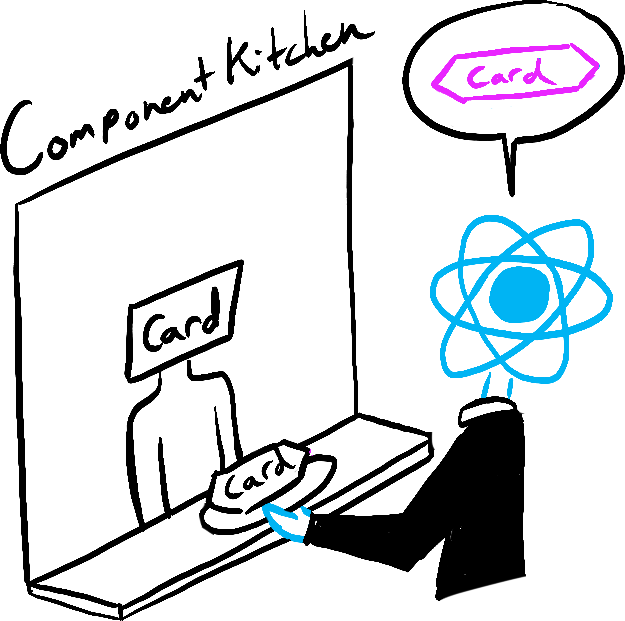
...triggers... 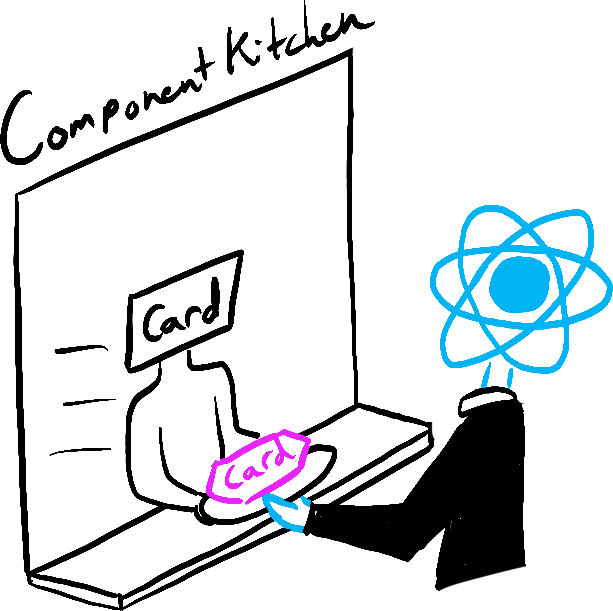
...render!
Illustrated by Rachel Lee Nabors
Step 2: React renders your components
After you trigger a render, React calls your components to figure out what to display on screen. “Rendering” is React calling your components.
- On initial render, React will call the root component.
- For subsequent renders, React will call the function component whose state update triggered the render.
This process is recursive: if the updated component returns some other component, React will render that component next, and if that component also returns something, it will render that component next, and so on. The process will continue until there are no more nested components and React knows exactly what should be displayed on screen.
In the following example, React will call Gallery() and Image() several times:
export default function Gallery() {
  return (
    <section>
      <h1>Inspiring Sculptures</h1>
      <Image />
      <Image />
      <Image />
    </section>
  );
}

function Image() {
  return (
    <img
      src="https://i.imgur.com/ZF6s192.jpg"
      alt="'Floralis Genérica' by Eduardo Catalano: a gigantic metallic flower sculpture with reflective petals"
    />
  );
}
- During the initial render, React will create the DOM nodes for
<section>,<h1>, and three<img>tags. - During a re-render, React will calculate which of their properties, if any, have changed since the previous render. It won’t do anything with that information until the next step, the commit phase.
Deep Dive
The default behavior of rendering all components nested within the updated component is not optimal for performance if the updated component is very high in the tree. If you run into a performance issue, there are several opt-in ways to solve it described in the Performance section. Don’t optimize prematurely!
Step 3: React commits changes to the DOM
After rendering (calling) your components, React will modify the DOM.
- For the initial render, React will use the
appendChild()DOM API to put all the DOM nodes it has created on screen. - For re-renders, React will apply the minimal necessary operations (calculated while rendering!) to make the DOM match the latest rendering output.
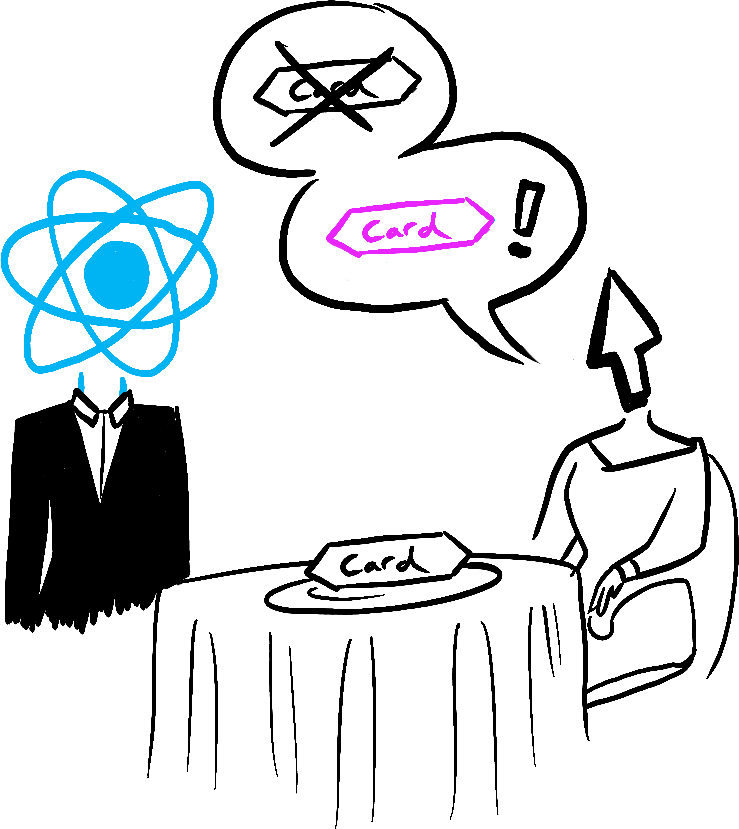
React only changes the DOM nodes if there’s a difference between renders. For example, here is a component that re-renders with different props passed from its parent every second. Notice how you can add some text into the <input>, updating its value, but the text doesn’t disappear when the component re-renders:
export default function Clock({ time }) {
  return (
    <>
      <h1>{time}</h1>
      <input />
    </>
  );
}
This works because during this last step, React only updates the content of <h1> with the new time. It sees that the <input> appears in the JSX in the same place as last time, so React doesn’t touch the <input>—or its value!
Epilogue: Browser paint
After rendering is done and React updated the DOM, the browser will repaint the screen. Although this process is known as “browser rendering”, we’ll refer to it as “painting” to avoid confusion throughout the docs.

Illustrated by Rachel Lee Nabors